Using a proxy in conjunction with a multi-login browser is crucial for preserving privacy, bypassing geographical restrictions, adding additional layers of security, and discreetly managing multiple online accounts. However, it is essential to choose a reliable proxy service to ensure a seamless experience in both worlds.
Integrating PYPROXY with Lauth can provide a secure browsing experience. To fully understand this feature, we will guide you through it in this article.
Discount Coupon 🎁
- The Pryproxy team has provided a 10% discount coupon for first-time users who sign up to purchase traffic packages. Add it in the field: LAUTH10
Create an Account on PYPROXY
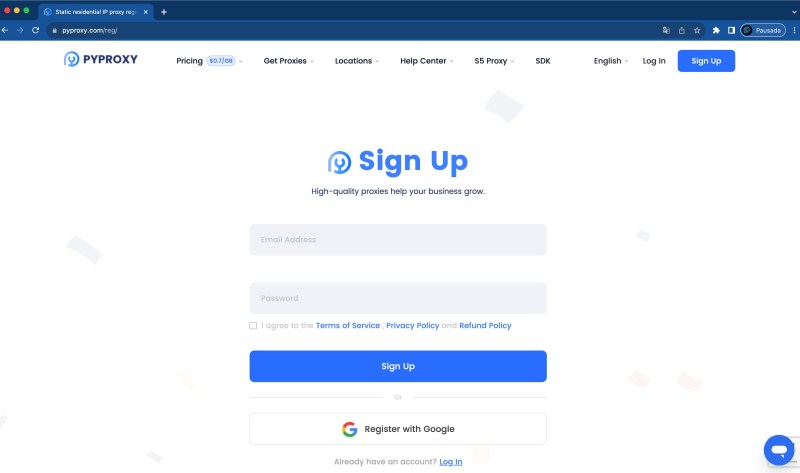
If you don’t already have an account on PYPROXY, visit the website https://www.pyproxy.com/reg/ and sign up:
Click on “Register Now” and create your account.


The following steps will be completed mostly within Lauth.
Step 1: Download and Log in to Lauth
Firstly, you need to download the Lauth application. You can download it directly from the websiteor by clicking here. After downloading, create your account in just a few moments or log in.

Step 2: Create Your First Profile
Click the “Create my first profile” button in the center of the Lauth screen. This action will guide you to create a new profile.

Step 3: Activate Proxy Browsing
Click on “Connection and proxy.” Here, you will find a switch labeled “Browse using proxy.” Turn on this switch to enable proxy browsing. Remember that PYPROXY supports HTTP, HTTPS, and SOCKS protocols. In this case, we will use SOCKS.

Step 4: Generate Proxy Information in PYPROXY
Next, access your PYPROXY account and generate the proxy information. In this example, we will use SOCKS5.

Step 5: Enter Proxy Information in Lauth
Now, go back to your Lauth account. Copy the proxy information you generated in PYPROXY and paste it into the appropriate fields in Lauth, as shown below:

Step 6: Save the Proxy to Your List
Customize a name for your proxy in the “Proxy Name” field. Also, activate the button labeled “Save proxy to my proxy list.” This action will save the proxy to your list, allowing you to select it directly next time without the need for reconfiguration.

Step 7: Save Changes
After setting everything up, click “Save Changes” to save your settings.

Step 8: Start Browsing Securely
Return to the browser page and you can start using the proxy to browse the Internet, with the security and stability that your structure deserves. If you want to check the proxy data, you can click on the corresponding icon (🔗) then on “Check connection”.

Or access sites like “ipinfo.io” for more details about the connection:


See? It’s that quick! You have successfully integrated PYPROXY with Lauth. Now, enjoy the best performance of a proxy in conjunction with the best multi-login browser.


